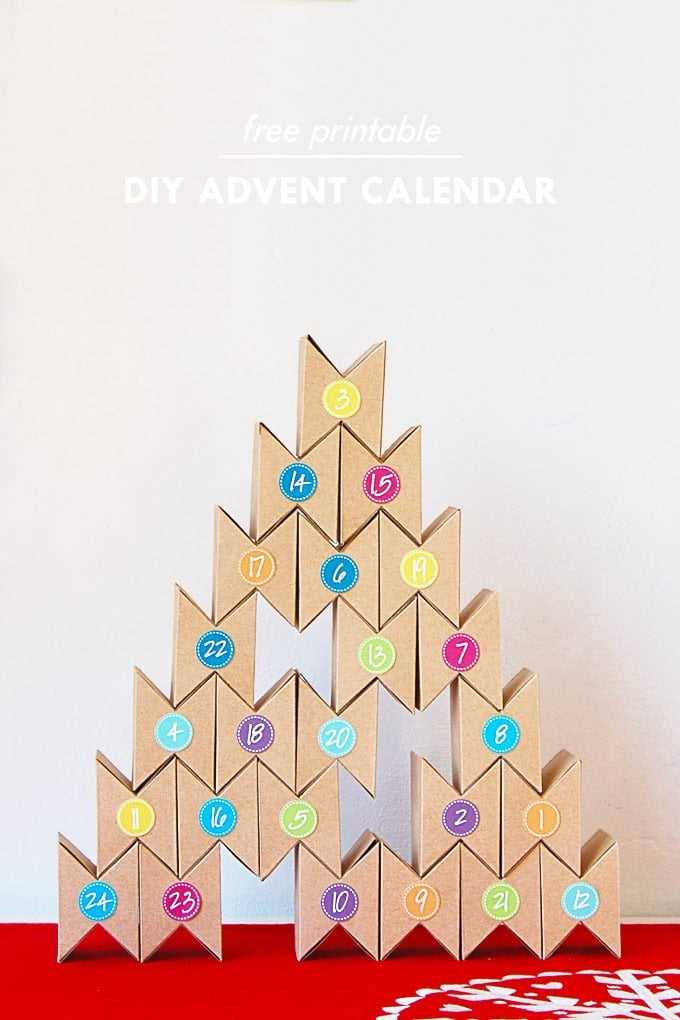
There is something special about the anticipation of an upcoming event, whether it’s a holiday or any other significant occasion. This time of year often brings a chance to celebrate, reflect, and engage in small daily traditions that enhance the excitement. One way to build up the excitement is by incorporating a fun, creative element into the days leading up to that momentous event.
By crafting a unique, interactive setup, it’s possible to add a personal touch that will make the waiting period feel even more meaningful. It can be as simple or elaborate as desired, offering daily surprises or little activities that bring joy and build anticipation with each passing day.
With a little imagination, it’s easy to design something that fits individual preferences, whether for family, friends, or personal enjoyment. The beauty lies in the customization–choosing what to include, how to present it, and how to turn a simple concept into a memorable experience that will be cherished for years to come.
How to Create a DIY Advent Calendar
Crafting a personalized countdown for the festive season offers a unique opportunity to blend creativity with tradition. By designing a custom way to track the days leading to the holidays, you can infuse your space with warmth, excitement, and a sense of anticipation. Whether you choose to incorporate little surprises or simply add a decorative touch, creating such a countdown is a rewarding project.
To begin, it’s important to choose a structure that fits the style of your home and the spirit of the season. There are countless possibilities–from simple boxes or bags to intricate hanging designs or reusable pouches. Think about what materials you have on hand or what would best suit the space where it will be displayed.
| Step | Description |
|---|---|
| 1. Choose the base | Select a surface, such as paper, wood, or fabric, to act as the foundation for the items you’ll present each day. |
| 2. Number the days | Label 24 sections or pockets, ensuring each day has a clear spot for its surprise or decoration. |
| 3. Add your touches | Decorate with colors, patterns, or festive symbols to give each section its own personality. |
| 4. Fill the sections | Decide on small gifts, notes, treats, or decorations to place inside, depending on the theme or message you want to convey. |
| 5. Assemble and display | Attach or hang the sections in a way that fits the chosen space, whether it’s on a wall, mantel, or in a corner. |
By following these basic steps, you can craft a meaningful and beautiful piece to enhance the holiday season, creating memories with each passing day.
Choose the Right Template Style
Selecting the perfect design for a seasonal countdown requires careful thought. The layout and theme you opt for can significantly impact the overall experience, enhancing both its aesthetic and functionality. It’s important to find a format that aligns with the intended mood and purpose of the event or occasion.
- Traditional vs. Modern: Consider whether a classic, rustic look or a sleek, contemporary style fits best with your space or celebration.
- Interactive Features: Some designs include elements like hidden doors or small pockets for surprises, while others may be more visual.
- Theme-Specific Options: Tailor the choice to a particular theme such as winter wonderland, festive celebrations, or minimalist chic.
Ultimately, the style you choose should reflect the essence of what you’re counting down to and cater to the preferences of the intended audience.
Materials You’ll Need for Crafting
Creating a personalized holiday project requires a variety of essential supplies. Whether you’re aiming for a classic or modern design, the right materials will help bring your creative vision to life. Gathering these items in advance ensures a smooth and enjoyable crafting experience.
Start with sturdy paper or cardstock as the foundation for your creation. Depending on your desired structure, choose between thick or flexible materials. You’ll also need decorative elements like ribbons, stickers, stamps, and washi tape to add flair and texture. Additionally, various small trinkets or tokens can be included to surprise and delight each day’s recipient.
Don’t forget the basics: scissors, glue, and a ruler will be crucial for cutting, assembling, and ensuring your project stays neat and well-aligned. For added creativity, colored markers, paints, or embellishments like glitter can be used to enhance the overall look. By preparing these tools, you’ll be ready to dive into your crafting journey with confidence.
Steps for Designing Custom Windows
Creating unique openings on a decorative item requires thoughtful planning and creativity. This process allows one to customize the experience and the visual impact of each individual section. The goal is to enhance both functionality and aesthetic appeal, providing a memorable interaction with the design. A good approach involves understanding structure, layout, and the desired effect of each opening in relation to the whole project.
1. Define Dimensions and Placement
Start by determining the size and shape of the openings. Consider the overall design and the space available for each section. The dimensions should complement the surrounding areas while ensuring that the final outcome remains balanced. Thoughtful placement of each window is essential for creating a harmonious flow throughout the design.
2. Choose Materials and Finishing Touches
The materials you choose for the frames or borders around the openings play a significant role in the final look. Whether using sturdy cardboard, wood, or other craft materials, the finish should align with the aesthetic theme. Add decorative elements such as stickers, drawings, or metallic accents to enhance the visual appeal and add personality to each section.
Printable Templates: Where to Find Them
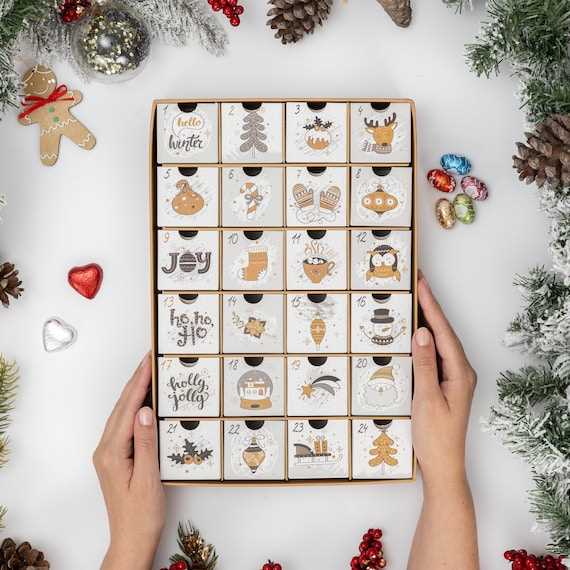
When looking to create a personalized experience, having access to ready-made designs can save both time and effort. These ready-to-print options come in various styles and formats, offering flexibility for different preferences and needs. Whether for a special occasion or a festive tradition, it’s easy to find resources that help bring a custom touch to the process.
There are numerous platforms online that provide downloadable resources. Websites dedicated to crafting, such as Etsy or Pinterest, are home to countless options created by artists and hobbyists. Many of these can be purchased or even found for free, making them ideal for a variety of budgets and projects. Creative Market and Design Bundles are also popular sources for high-quality, printable files. These marketplaces feature a broad range of designs, from simple and minimalist to intricate and elaborate.
For those who prefer a no-cost approach, websites like Canva and Freepik provide customizable layouts that can be adjusted before printing. These platforms often offer both free and premium options, making them accessible to a wide audience. Additionally, many blogs dedicated to DIY crafts often share free downloadable content, especially around major holidays or seasonal events, providing a wealth of inspiration for unique creations.
Personalizing Your Advent Calendar
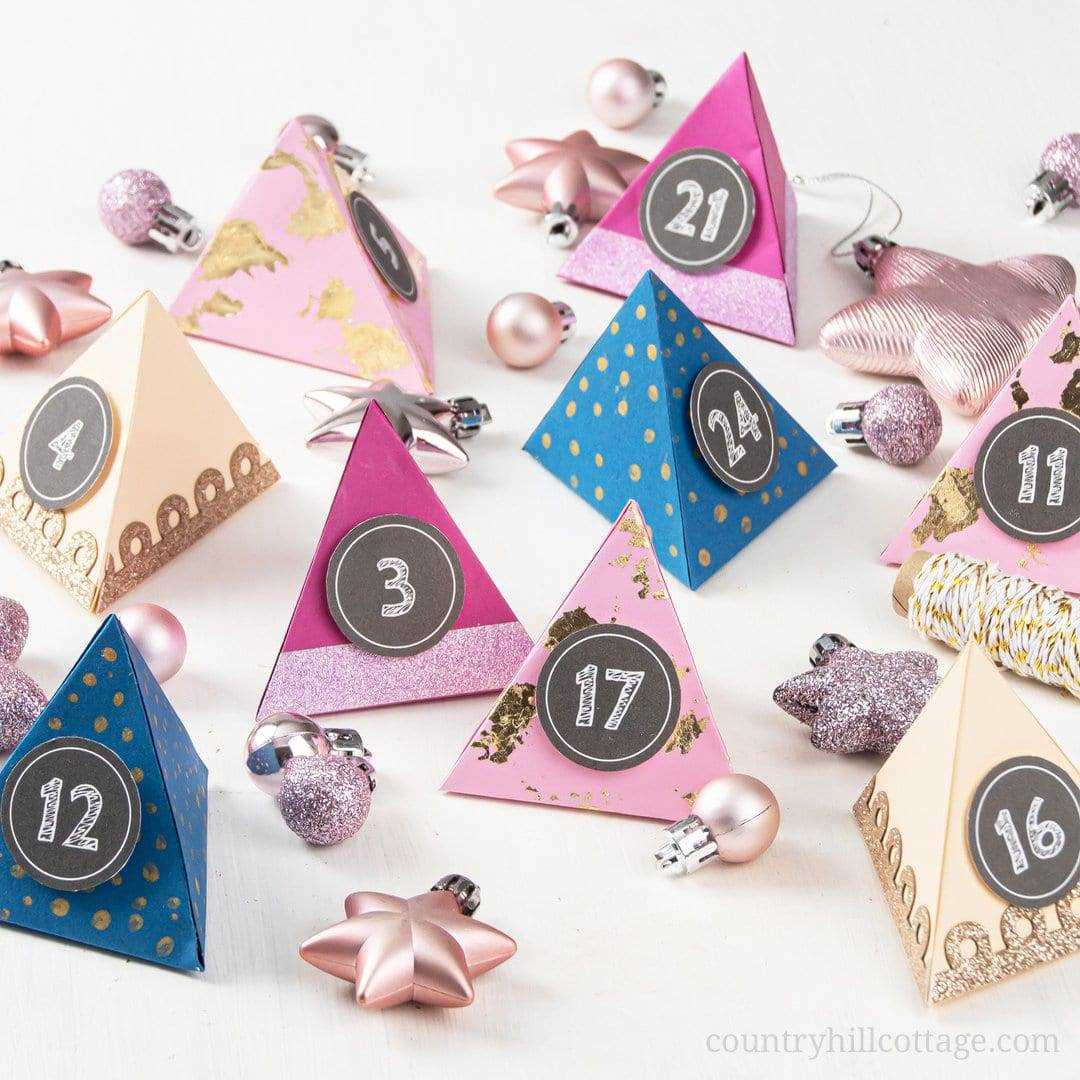
Adding a personal touch to a holiday countdown can transform it from a simple tradition into a meaningful experience. Customizing each element allows for creative expression and makes the daily reveal much more exciting. The process of tailoring the design and contents to reflect individual tastes, memories, or themes enhances the anticipation and enjoyment of the season.
Designing a Unique Look
The visual appearance of a holiday countdown can reflect personal style or the atmosphere you wish to create. Consider these ideas:
- Color Palette: Choose colors that align with a specific theme, whether it’s traditional red and green or more modern shades like gold and silver.
- Graphics and Icons: Incorporate symbols or images that hold significance, such as snowflakes, stars, or personal artwork.
- Material Choices: Opt for textures or materials like fabric, wood, or paper that fit your preferred aesthetic.
Filling the Days with Meaning
The surprises hidden behind each window or compartment are what truly make this tradition memorable. Here are some ideas for adding depth and personality to each day’s offering:
- Personalized Notes: Write little messages or quotes to inspire or reflect the day’s mood.
- Handmade Treats: Include small homemade chocolates, cookies, or even little handmade ornaments.
- Shared Memories: Place photos, ticket stubs, or mementos that evoke cherished moments from past holidays.
Incorporating these thoughtful touches will create a truly personalized holiday countdown, making each day a reminder of joy, warmth, and connection.
Creative Ideas for Calendar Surprises
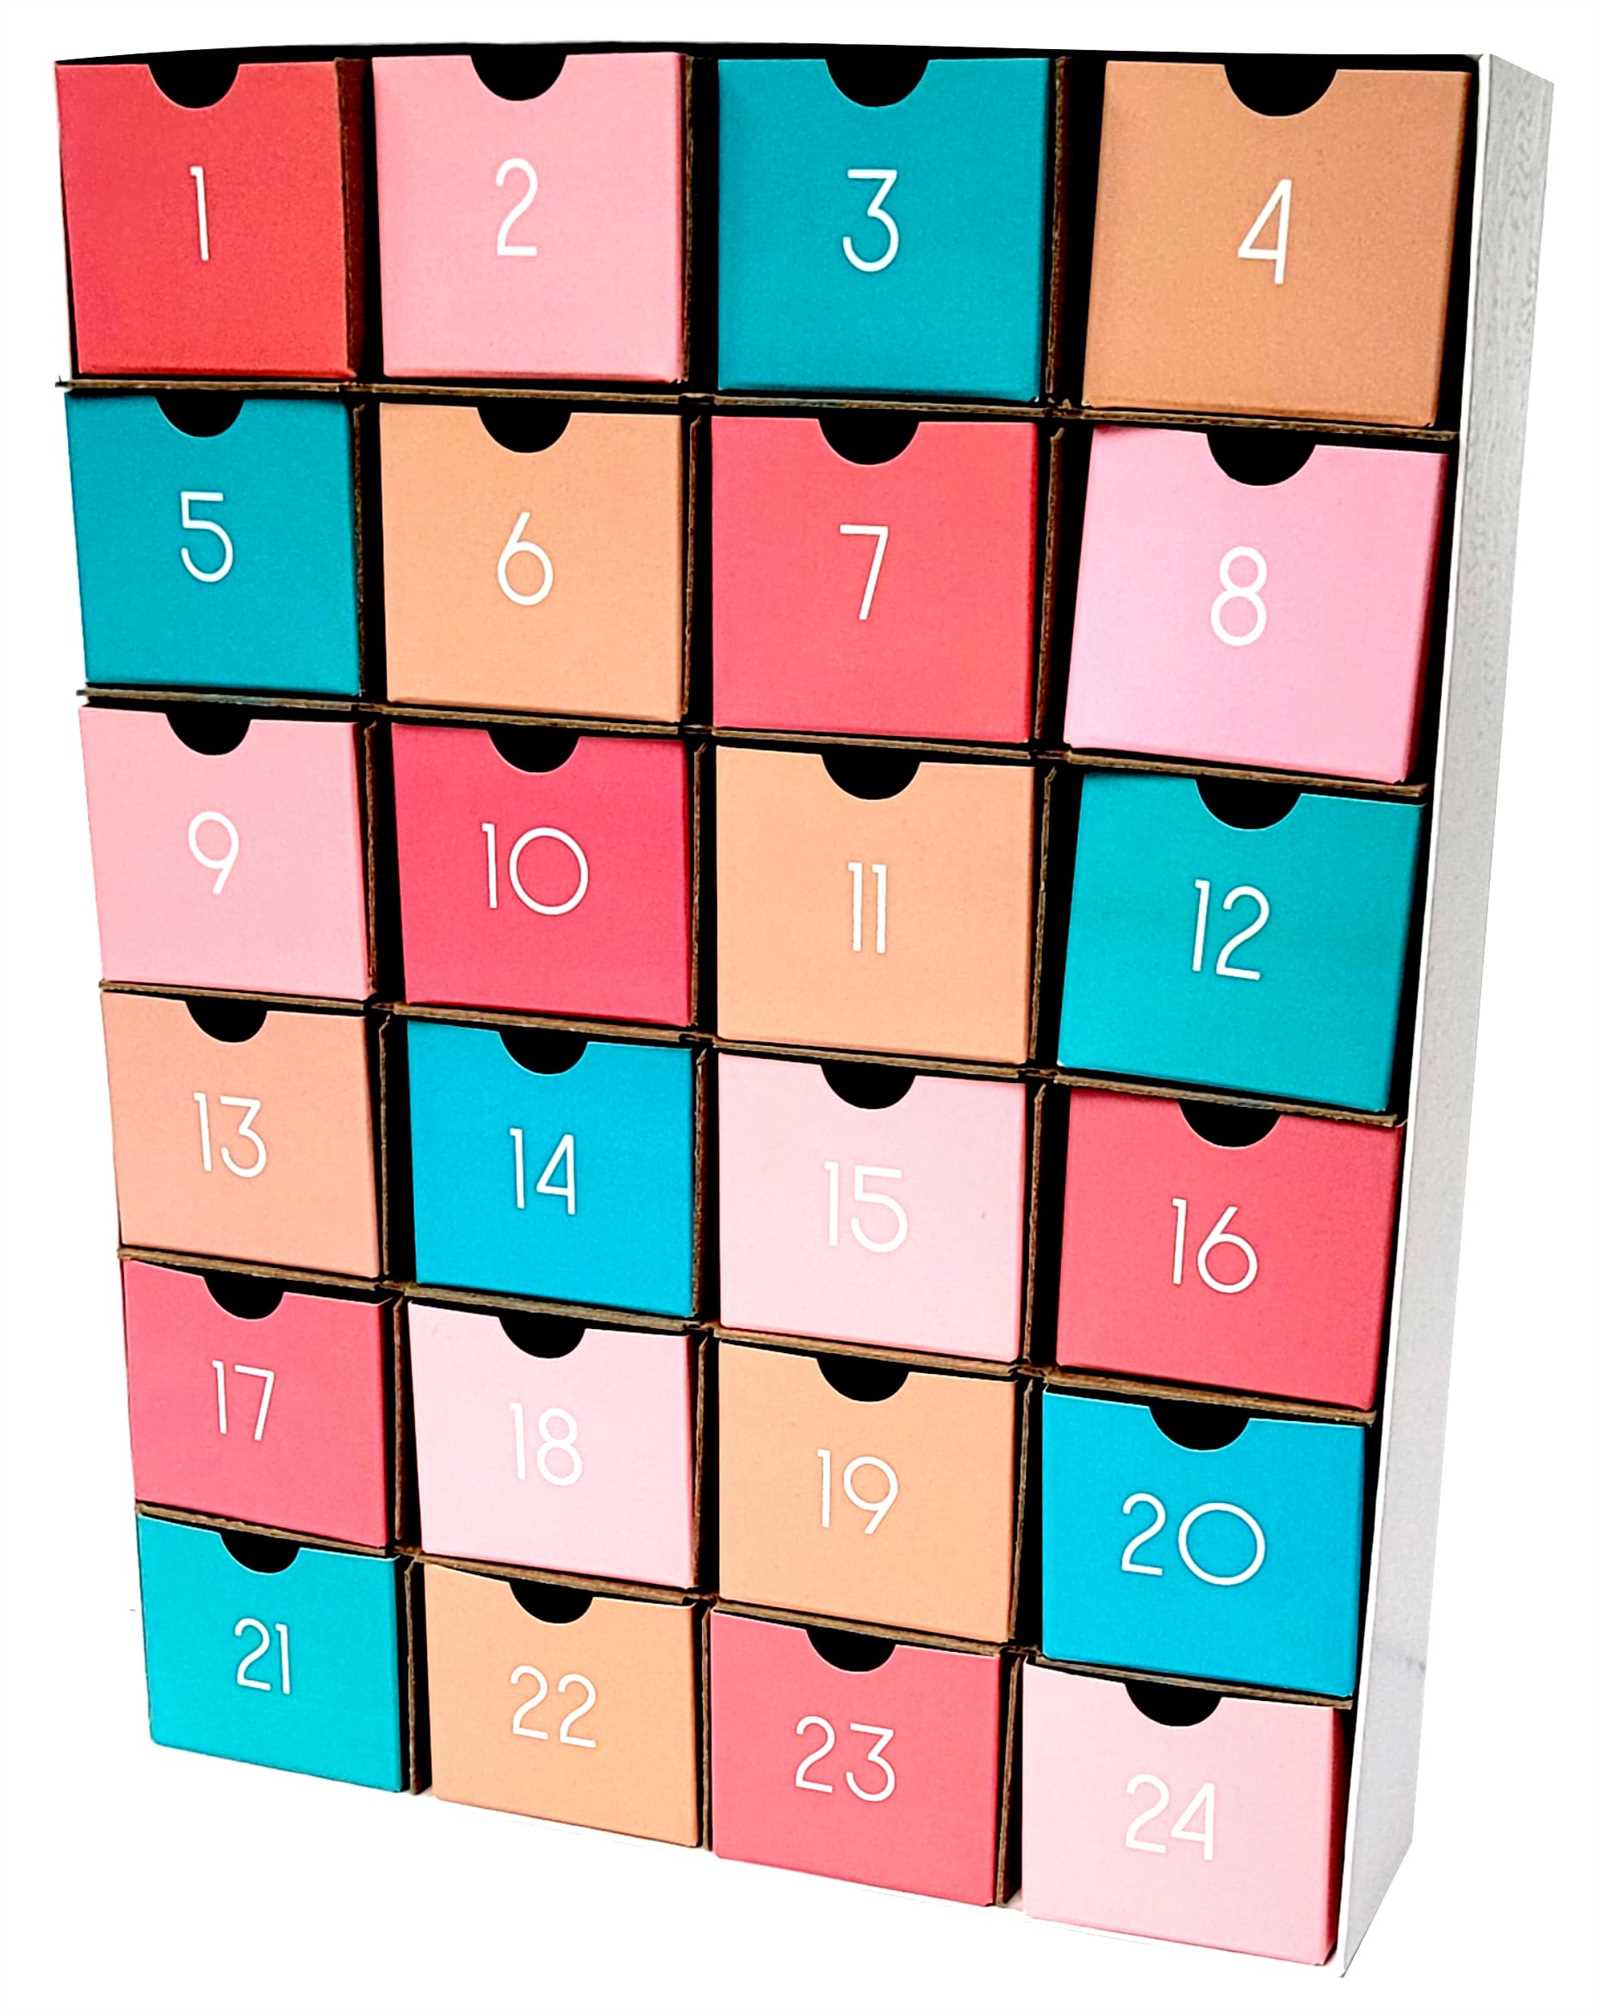
The excitement of daily discoveries can turn any waiting period into a fun and memorable experience. Whether for a special occasion or simply to add a bit of joy to a routine, these small daily surprises bring a sense of anticipation and delight. A little creativity can transform the mundane into something magical, adding personal touches and thoughtful details that will make each moment special.
Consider filling each day with a mix of treats, activities, or messages that cater to different interests. From small toys or snacks to unique challenges, the possibilities are endless. Crafting experiences that reflect personality or theme can elevate this activity into something truly memorable. It’s not just about the contents, but the thought and effort behind each little surprise that can make all the difference.
For those looking to spread joy, consider including hand-written notes, small inspirational quotes, or even mini DIY projects. These can range from fun riddles and jokes to mini art pieces or easy crafts to complete. Each day offers a new opportunity to create a connection, share a laugh, or inspire a creative spark. The more personal and tailored the items, the more meaningful the experience will be.
Adding Fun Holiday Themes
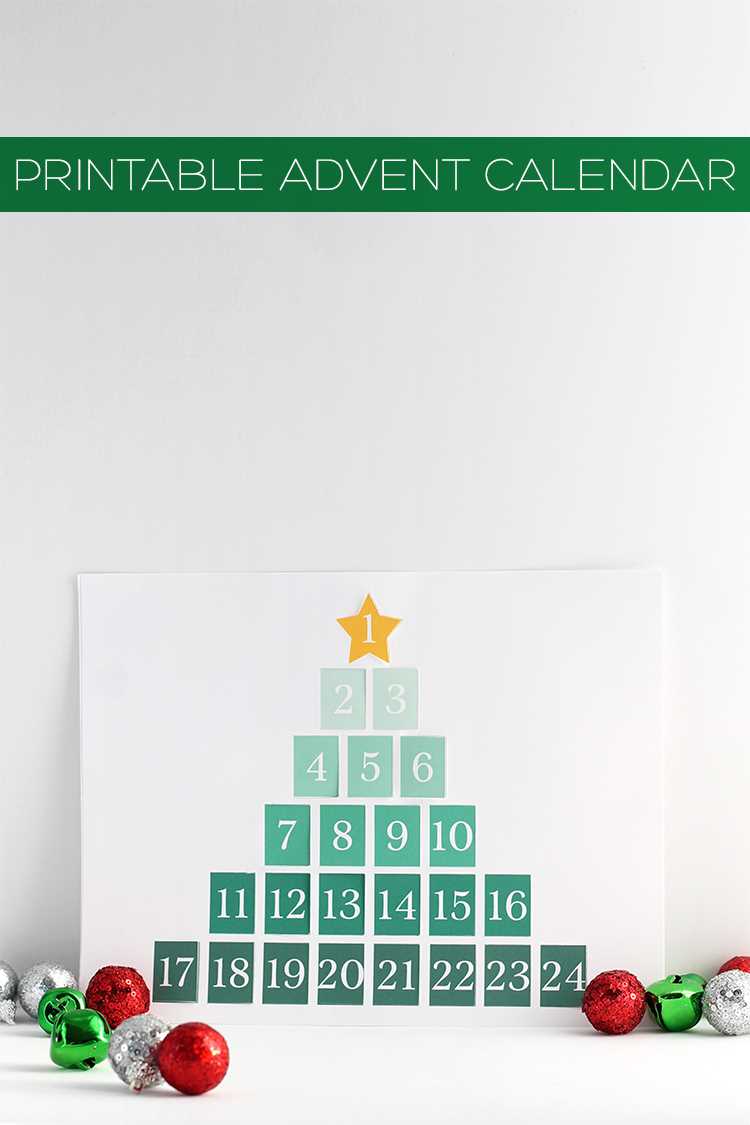
Holiday seasons are the perfect time to embrace creativity and add a personal touch to celebrations. One of the best ways to enhance the festive atmosphere is through thematic designs. These playful and unique ideas can elevate the experience, making it more engaging and memorable for everyone involved.
There are numerous ways to infuse holiday cheer through a variety of themes. From classic winter wonderlands to more modern takes on festive traditions, the possibilities are endless. Choosing the right theme can set the tone and reflect the spirit of the season.
- Winter Wonderland: Snowflakes, icy blues, and sparkling whites can create a magical setting reminiscent of a snowy day.
- Santa’s Workshop: Incorporating elves, reindeer, and toys brings the North Pole to life, adding whimsy and excitement.
- Traditional Holiday Cheer: Classic symbols like Christmas trees, ornaments, and stockings are timeless favorites.
- Modern Minimalist: A clean, elegant design with neutral colors and simple geometric shapes provides a contemporary twist.
- Festive Foods: Gingerbread cookies, hot cocoa, and candy canes can inspire a deliciously fun approach.
- Nature-Inspired: Think pinecones, holly, and evergreen wreaths, perfect for those who love a rustic and earthy vibe.
Once a theme is selected, it’s easy to customize with matching graphics, colors, and patterns. This consistency will create a cohesive and festive atmosphere that is sure to bring joy and excitement throughout the days of celebration.
Choosing Between Paper or Fabric
When deciding on the materials for a countdown display, two popular options often come to mind: paper and fabric. Both have unique qualities, but the right choice depends on factors such as durability, appearance, and personal preference. Each material offers distinct advantages and challenges, making it important to consider the overall effect desired and how the final piece will be used or stored.
Paper is lightweight, easy to work with, and allows for a wide range of creative designs. It’s ideal for those who enjoy crafting with simple tools and are looking for a one-time use solution. On the other hand, fabric provides a more durable and reusable option, with an added tactile quality that makes it a favorite for long-term displays. Here are some things to consider when making a choice:
- Cost and Availability: Paper is usually more affordable and readily accessible, while fabric may require more investment depending on the type chosen.
- Durability: Paper is prone to wear and tear, especially if it’s used repeatedly, while fabric can last for many years if cared for properly.
- Design Flexibility: Paper offers limitless possibilities for printing, cutting, and decoration, while fabric often requires sewing or stitching, which might limit the complexity of designs.
- Eco-Friendliness: Fabric tends to be more environmentally friendly due to its longevity, while paper may end up in the trash after a short period of use.
Each option can suit different needs and preferences. Paper tends to shine in situations where creativity and temporary displays are key, while fabric excels in creating lasting, high-quality results. Ultimately, the choice boils down to how the final product will be used, how long it needs to last, and what style you want to achieve.
Budget-Friendly Advent Calendar Options
Creating a festive experience doesn’t have to be expensive. With a little creativity and planning, anyone can put together a meaningful countdown filled with surprises without breaking the bank. There are many ways to craft a holiday tradition that still feels special, even if you’re on a tight budget.
Simple Ideas for Low-Cost Designs
There are various easy and inexpensive ways to bring your vision to life. Here are a few options that require minimal materials but deliver maximum enjoyment:
- Use small envelopes or paper bags to hold daily surprises.
- Repurpose old boxes or containers to create compartments for each day’s item.
- Incorporate natural elements like pinecones or twigs as part of the daily display.
- Cut out numbered tags from scrap paper for a personalized touch.
Affordable Fillers for Surprises
When it comes to what goes inside each section, you don’t need to spend a lot of money to create excitement. Some affordable fillers include:
- Homemade treats, like cookies or candies.
- Handwritten notes with fun activities or festive challenges.
- Small toys or trinkets that can be found at dollar stores or online marketplaces.
- Coupons for little favors or acts of kindness, such as “A movie night” or “A homemade meal.”
By thinking outside the box and sticking to basic materials, anyone can create a charming and memorable holiday experience without spending a fortune. A bit of imagination goes a long way when it comes to spreading joy during the festive season.
Tips for Making It Kid-Friendly
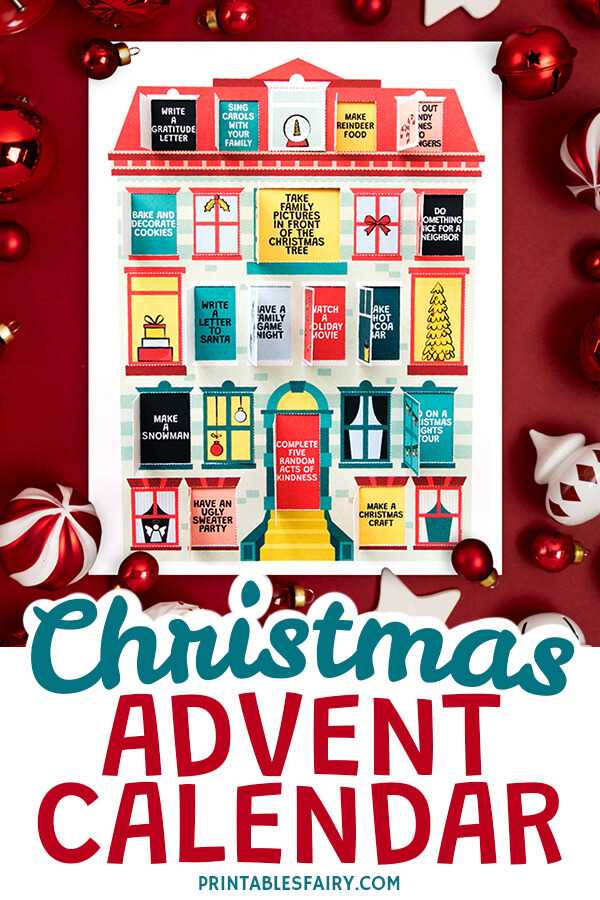
Creating an experience that is engaging, fun, and safe for young ones is key when designing a festive countdown. The focus should be on simplicity, excitement, and incorporating elements that children can enjoy on a daily basis. By considering their developmental needs and interests, you can craft something that brings joy and sparks their imagination throughout the holiday season.
Consider Easy-to-Open Compartments
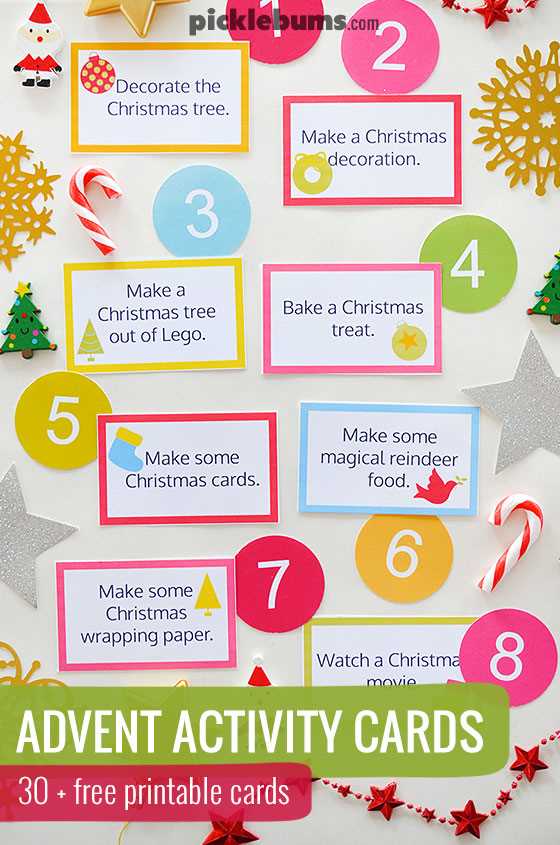
Children may have difficulty opening certain types of packaging or small enclosures. To make it accessible, opt for larger, easy-to-tear pockets or doors. This will help avoid frustration while keeping the excitement alive every day. Some ideas include:
- Velcro flaps
- Fold-out sections
- Large pop-open windows
Focus on Interactive and Fun Surprises
Instead of using small, difficult-to-handle items, choose treats and activities that are simple and engaging. Think of small toys, fun activities, or simple crafts that can be done together. Here are a few ideas:
- Coloring pages
- Stickers or stamps
- Mini puzzles
- Simple jokes or riddles
By including activities that encourage creativity or laughter, you provide children with an opportunity for hands-on involvement each day, making the countdown even more special.
How to Add Interactive Elements
Enhancing a project with interactive components can transform it into a more engaging experience. By incorporating user-driven features, the design becomes dynamic and fun, allowing participants to actively interact with the content. These elements can range from simple click-and-reveal actions to more complex animations and responses. The goal is to create an enjoyable and memorable journey for the user while ensuring the interaction complements the overall design seamlessly.
To begin, consider utilizing basic web technologies such as HTML, CSS, and JavaScript. These tools allow the integration of various interactive features, including buttons that reveal hidden content, hover effects that change visuals, and even interactive forms. Using JavaScript, for example, you can add event listeners to trigger specific actions when a user interacts with certain elements, such as clicking or hovering over them.
One of the easiest ways to bring interactivity to life is by using pop-up windows or tooltips. These can display additional information when a user clicks on a designated area. Alternatively, adding simple animations using CSS can capture attention and encourage further exploration of the content. The key is to strike a balance between functionality and creativity, ensuring that each interactive feature enhances rather than distracts from the overall experience.
Incorporating Small Gifts and Treats
One of the most delightful aspects of a holiday countdown involves adding small surprises that bring joy and excitement each day. These can range from simple sweets to tiny trinkets, all designed to brighten someone’s day. Carefully choosing what to include creates a sense of anticipation, turning an ordinary wait into something truly special. This tradition is a great way to personalize the experience and make it even more memorable for those who participate.
Ideas for Thoughtful Surprises
Small, meaningful items can go a long way in creating a sense of wonder. Consider things that align with personal interests, hobbies, or current favorites. It’s not about the value but the thought and creativity behind each selection. Some ideas might include:
- Miniature scented candles
- Handwritten notes with positive affirmations
- Holiday-themed stickers or stationary
- Small beauty products like lip balm or hand cream
- Favorite teas or hot chocolate mixes
Types of Treats to Include
Sweet treats are often the star of any surprise-filled experience. Including a variety of edible delights can cater to different tastes while maintaining the festive spirit. Here are some popular choices:
| Treat Type | Examples |
|---|---|
| Chocolate | Truffles, chocolate bars, chocolate-covered nuts |
| Cookies | Gingerbread, shortbread, sugar cookies |
| Healthy Snacks | Trail mix, dried fruits, granola bars |
| Gum and Mints | Gum balls, mint chocolates, minty candies |
Including a mix of indulgent and healthy options ensures that there’s something for everyone, making each day feel unique and satisfying.
Using Eco-Friendly Materials
Creating a sustainable version of a festive tradition involves choosing resources that minimize environmental impact. By opting for materials that are reusable, recyclable, or biodegradable, one can craft a more eco-conscious version of the experience, reducing waste while maintaining the fun and excitement. Selecting the right components helps contribute to a healthier planet and a more mindful approach to holiday crafting.
There are several eco-friendly options that can be used in place of traditional items. Here are some ideas:
- Recycled Paper: Instead of glossy or plastic-coated wrapping, use recycled paper. It’s an easy and effective way to reduce waste.
- Fabric Pouches: Reusable cloth bags or pouches can be an elegant and durable alternative to single-use paper or plastic options.
- Wood or Bamboo: Small wooden boxes, bamboo sticks, or natural twine offer a more sustainable option than synthetic materials.
- Cardboard: Use cardboard for crafting small compartments. It’s both sturdy and recyclable, making it an excellent green choice.
- Natural Decorations: Dried flowers, pinecones, and leaves add a touch of nature without contributing to plastic waste.
By incorporating these materials, the overall process becomes not only fun but also aligns with eco-friendly principles. Thoughtful choices in crafting not only elevate the experience but also set an example for more sustainable holiday practices.
Time-Saving Ideas for Quick Calendars
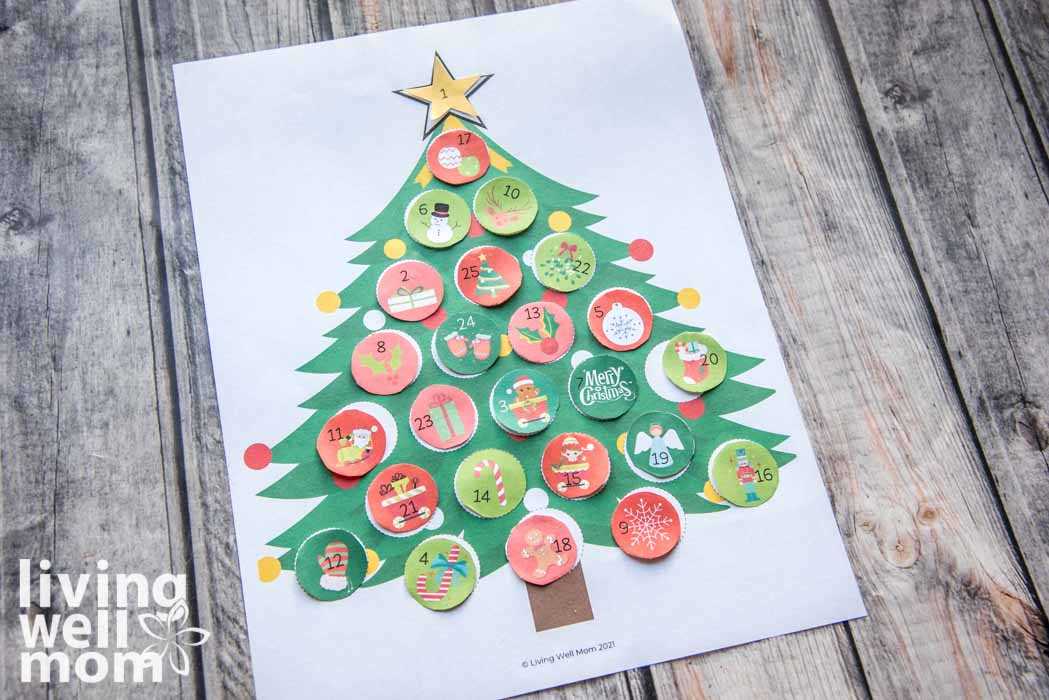
Creating a festive countdown can be a fun but time-consuming project. However, there are several ways to streamline the process without sacrificing creativity. By using a few clever shortcuts, one can design a personalized countdown that still feels special and engaging. Whether for a holiday or another celebration, these approaches will help save time while still offering a meaningful experience.
Utilize Pre-Designed Templates
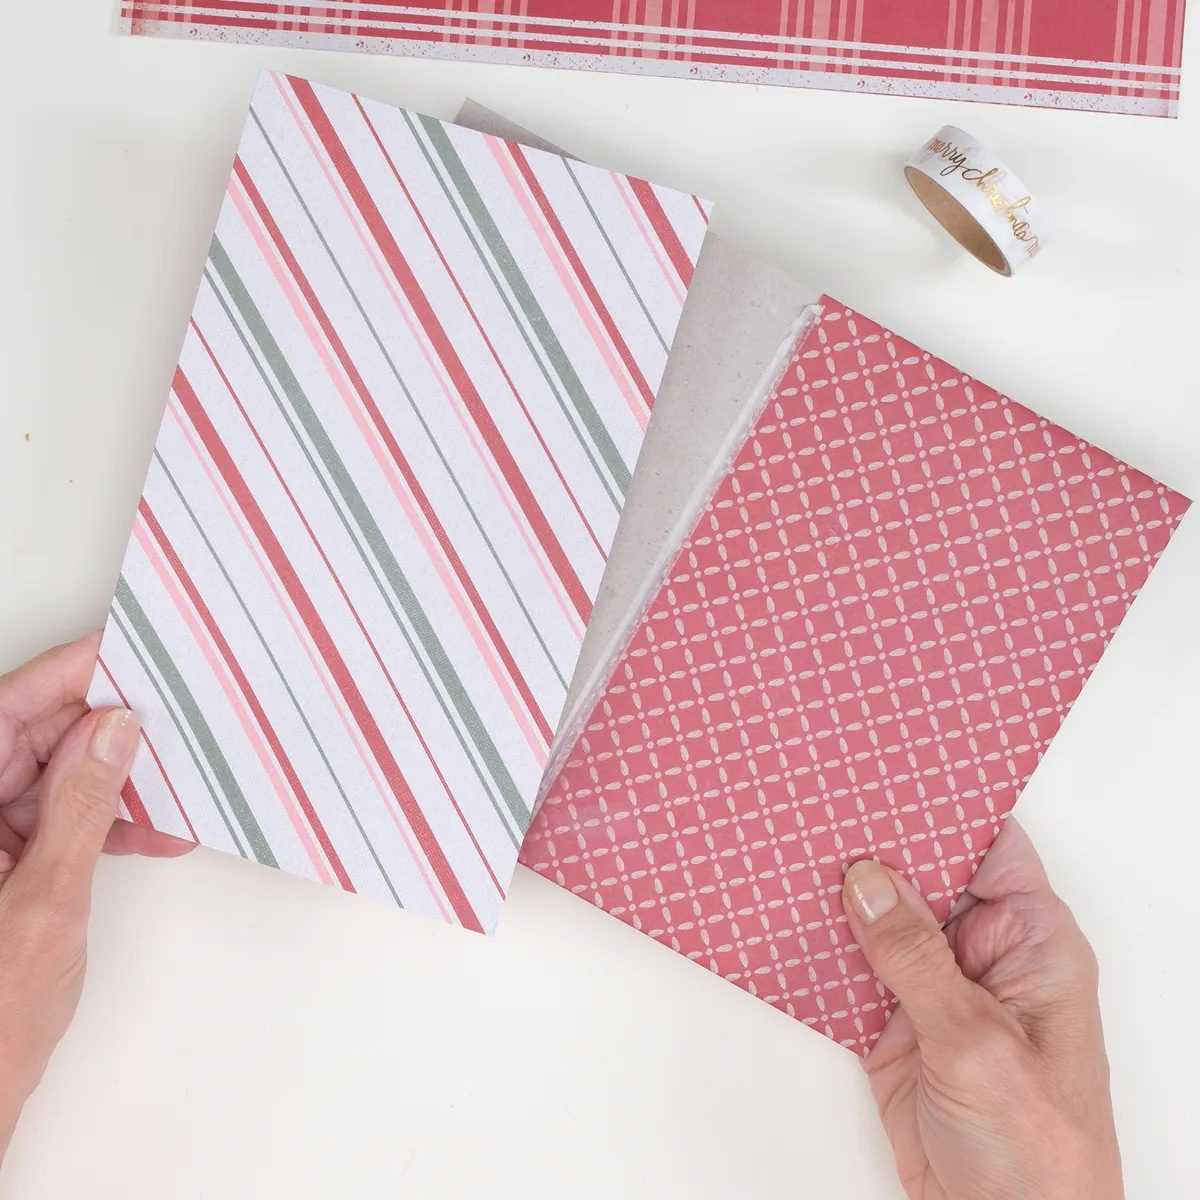
One of the fastest ways to get started is by choosing pre-made designs that can be customized to fit the occasion. Many online platforms offer free or affordable options that allow quick editing, making it easy to add personal touches without the need for complex design work. Simply choose a layout, adjust the details, and print or share digitally in minutes.
Opt for Digital Solutions
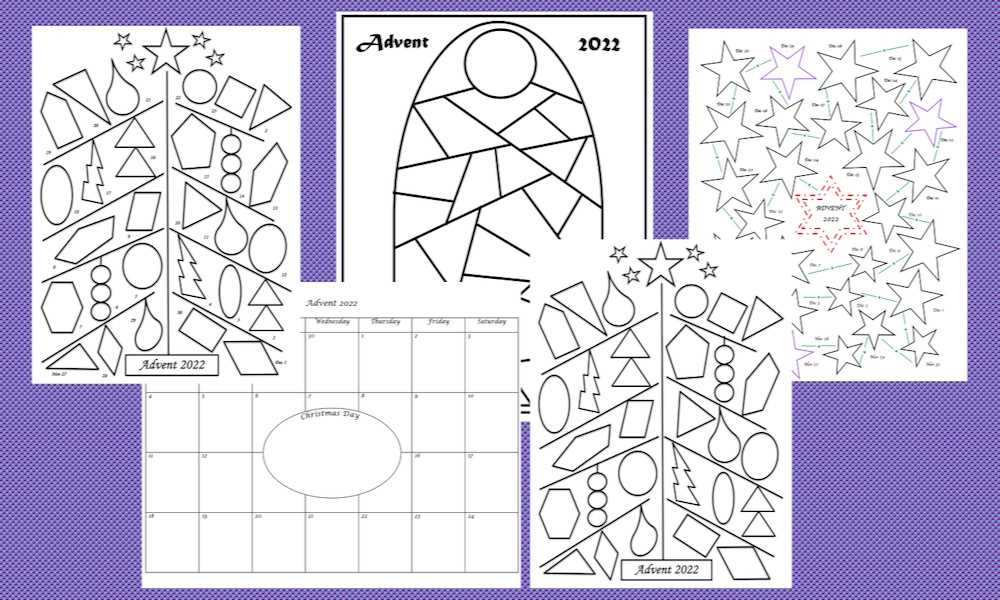
In the digital age, creating an interactive countdown on a website or through an app is another time-efficient method. This not only cuts down on physical setup time but also offers flexibility for those with limited crafting skills or materials. Set it up once and enjoy automatic daily reveals, making it a perfect solution for busy schedules.
| Method | Time Investment | Customization Options |
|---|---|---|
| Pre-made Designs | Low | Moderate |
| Digital Countdown | Very Low | High |
| Simple Handcrafted Version | Moderate | High |
How to Assemble Your Calendar
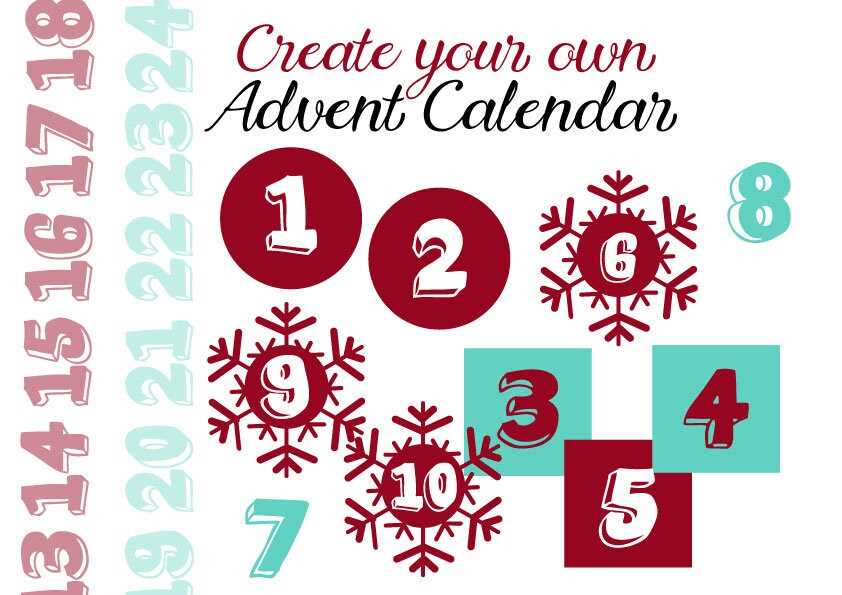
Creating a festive experience can be simple and enjoyable when the components are carefully put together. The process involves gathering various materials and assembling them in a way that is both visually appealing and fun. With just a few basic supplies, you can create a delightful structure that builds excitement day by day.
Start by selecting a sturdy base, such as a large piece of cardstock or wood, that will hold all the small compartments. These sections can be designed to fit treats, messages, or small items, depending on the desired theme. Once the base is ready, decide how you want to arrange the divisions–whether in a grid, a tree shape, or something entirely creative.
Next, prepare the boxes or pouches that will serve as containers. These should be easy to open but secure enough to hold small surprises. Decorate each section with unique designs, numbers, or festive imagery, adding a personal touch. You can also use colors that match the overall theme to enhance the visual appeal.
Once all the elements are ready, it’s time to assemble them. Begin by attaching the individual pockets to the base. Make sure the placement is even and balanced, and secure everything tightly. Afterward, fill each section with its chosen contents. From chocolates to handwritten notes, the surprises should evoke joy and anticipation.
Finally, finish with any final touches–such as ribbons, glitter, or festive stickers–that will add a sense of magic and make the overall creation look polished. Once completed, this structure will be a source of enjoyment, adding an extra layer of excitement to the season.
Customizing with Unique Decorations
Personalizing festive items can turn a simple tradition into something extraordinary. By adding your distinctive touches, each piece becomes more than just a display; it transforms into a work of art that reflects personal style and creativity. Whether through color schemes, textures, or small embellishments, the process of enhancing your festive design brings it to life in a unique way.
Consider integrating various elements that hold meaning to you or your loved ones. For instance, natural materials like pine cones, ribbons, or hand-painted details can bring a sense of warmth and authenticity. Custom decorations not only elevate the aesthetic but also create a more engaging and interactive experience, perfect for sparking joy throughout the season.
| Decoration Idea | Description |
|---|---|
| Handmade Tags | Crafted from cardstock or wood, these can carry personal messages or festive imagery. |
| Miniature Ornaments | Delicate and small, these can be hung or placed to add depth and charm. |
| LED Lights | Subtle illumination can add a magical, glowing effect to the design. |
| Fabric Elements | Use textured fabrics like felt or burlap for a rustic or cozy feel. |
With a bit of imagination, these elements can be mixed and matched to create a truly special display, embodying the spirit of the season while showcasing personal flair.
Storing and Reusing Your Calendar
Proper storage and reuse of seasonal creations can enhance their longevity and ensure they remain in good condition for future use. By following a few simple practices, these personalized projects can become cherished traditions over the years. Here’s how to keep them intact for another round of enjoyment when the time comes.
Best Practices for Storing
- Keep it in a dry, cool place to avoid moisture damage.
- Use a flat storage method to maintain shape and prevent folding.
- If possible, store inside a protective sleeve or box to guard against dust and dirt.
Reusing Tips
- Inspect for any wear or damage before bringing it out again.
- Make sure all parts are intact, especially if it’s a modular design with multiple components.
- Consider adding new features or updating elements for a fresh experience each year.